The merino/possum wool shoulder shawl turned out to be one of the quickest completing projects I’ve done in a while. It took only four evenings to knit.
For the record again, I used a wonderful luxury yarn – a gift from a pal. It’s Happy-Go-Knitty’s Ahuru 8, labeled as DK, but I like it as a worsted weight. It’s airier and less compressed at a stockinette gauge of 20 stitches for 4 inches/10 cm than at the DK gauge of 22. I started with a Knitty pattern from almost 10 years ago – Wavedeck, by Kate Atherley.
I made a couple of minor departures from Kate’s original. In the feather detail motif that constitutes the bottom round of the design, I worked the feathering for 15 odd number rows, not 12. Being a bit taller I thought a bit of extra length would be nice. I might have done at least three more because I had enough yarn to do so, but I was worried that blocking might not work out if I added too much depth.
Also, on the final round of bind-off, at each natural point formed by the feather border, I added a small cast-on/cast-off picot, both to accentuate those points, and to make a nice, sturdy spot for extra tugging during blocking. (To do this as I bound off according to directions, when I got to the centermost stich of each feather’s middle rib I cast on three extra stitches using the cable cast on, then immediately cast them off as per the method specified in the pattern. This made a little triangular nub at the base of each feather.
All in all, I used 1.75 skeins worth of yarn (estimate). I think I have enough left over for a pair of small wristlets, which will be a nice, comfy use for this super soft and super warm yarn.
Now for the blocking, savage or otherwise – you be the judge.
First we start with the completed, unstretched knit. Measuring with more precision but without stretch, it’s about 23 inches deep from center neck to center bottom, and about 46 inches across the wingspan (58.42cm x 116.84cm). You can see the little nubbins I added to each feather spine.

The first step is to get it nice and wet. I didn’t bother washing it with Eucalan or Kookaburra. It wasn’t dragged around enough in four days to get it grimy. Wetting was enough. Once wet, I gently squeezed out some of the water weight (no wringing, or rubbing, just a couple of compressions. Then I laid the piece folded in half on a bath towel, and rolled it up into a big jellyroll.

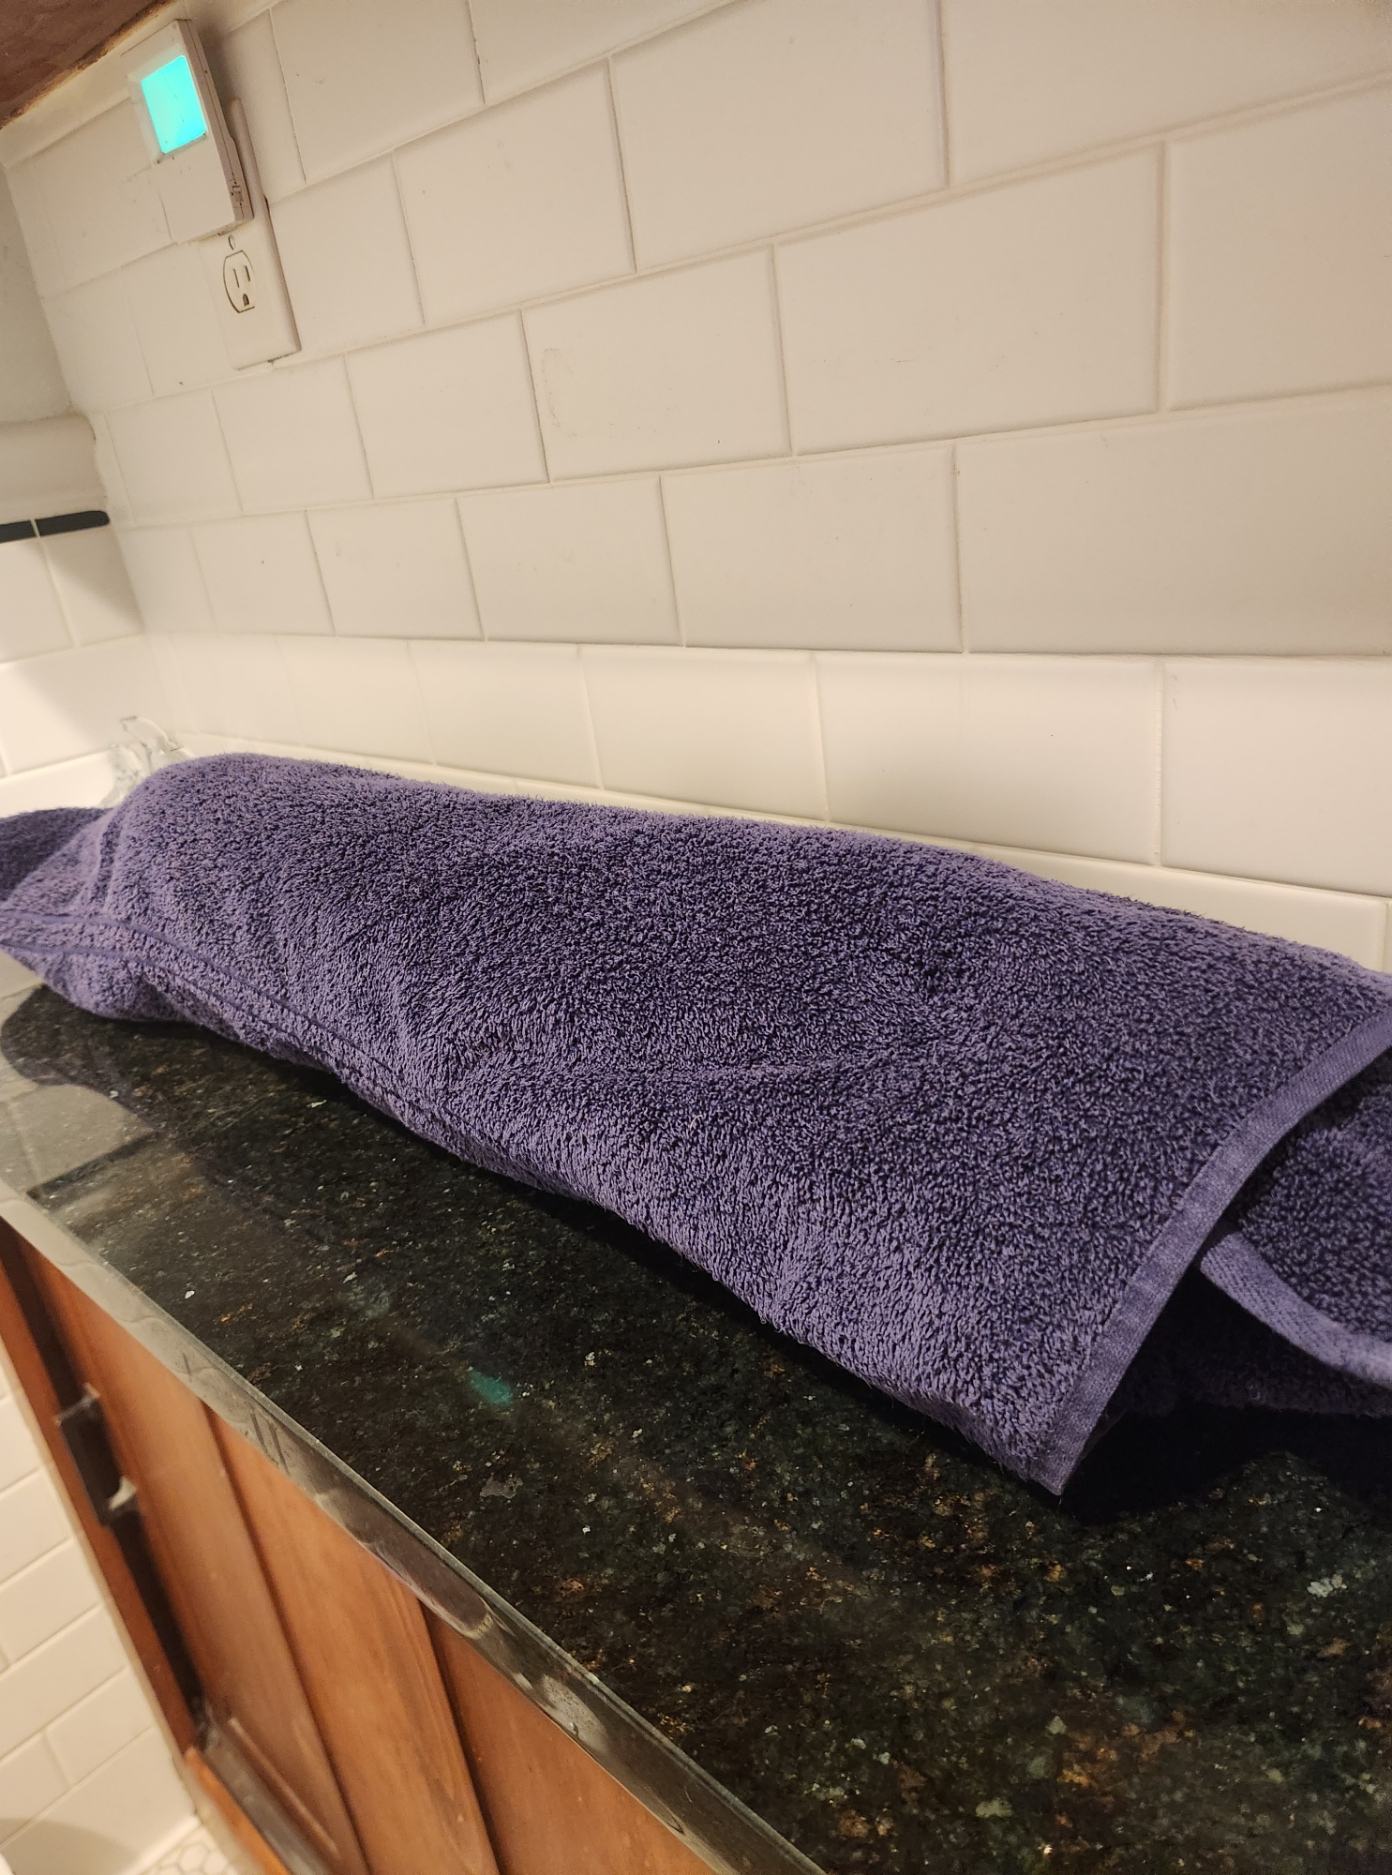
I leaned on the jellyroll to squeeze water into the towel, rotating it several times to get as much out as I could, but without subjecting the shawl to any undue stress.
Then I prepared my blocking area. First I laid out my usual blocking sheet – a rally checked flat twin sheet I found years ago at a yard sale, spread over a sturdy braided wool throw rug. Then I assembled my other blocking tools – blocking wires (some hand-me-downs from long time stitching and knitting pal Kathryn), and my long pins.
I began on the long side, threading every garter stitch edge bump along the straight edge onto blocking wires. Note that I used three of them. I deliberately left about a third of each wire bare, doubling up for about six stitches when I changed from one wire to the next. The reason I did this to leave room for stretching during blocking. If I filled up each wire completely, then stretched the thing during pin-out, stitches would fall of the end of the wires. Better to have lots of extra room and overlap. Bump threading below.

After wires were placed along the straight edge, I pinned them out following one of the horizontals of my checked sheet. I started at the center and tried to place pins and stretch evenly both to the left and right. The blocks of the sheet’s print helped me keep that stretch even.
Once the straight edge was laid out, again starting in the center I began pulling the points. There is no feather point at the center of this piece, so using the two points to the left and right of the center line, I used the sheet’s checks to make sure that the visual center line of the piece was perpendicular to the straight edge, and began pinning the points out from there. Now I’m not the best blocker. Were I so I would have calculated the angular difference at my chosen circumference, and marked it, pinning each to the exact spot on the indicated, scribed half circle. But that’s not me. I just winged it by eyeball. Good enough for home consumption.

Pinned out like this it’s about 30 inches deep, and 60 inches across (76.2cm x 152.4cm) roughly a gain of 7.6% in the stretching. It will probably relax a little bit once it’s released from savagery.
The next steps include letting it dry completely, unpinning and unthreading it from the blocking wires, and darning in a few ends. But at this point, it’s done. Four days of knitting, and 45 minutes of blocking, and fewer individual stitches than a single sock at my usual gauge. And one super cozy shoulder shawl, soft as whispers, to wear come autumn.

A checkered sheet for blocking is such a great idea! And your shawl looks great 😊
I was lucky to find this rally check sheet at a yard sale. But a simple tattersall plaid (think graph paper), gingham, a more usual plaid or even a stripe sheet or tablecloth would also work well as an alignment aid while blocking.