UPDATING THE PENNY METHOD
A while back I posted about using a penny, a cell phone, and a bit of math to determine the thread count of linens, both evenweave and skew. And now the US penny is quickly charging to extinction, abandoned by the US Mint, and soon to disappear entirely from circulation. Which means that I need to issue an update.
Voila!
The Dime Method.
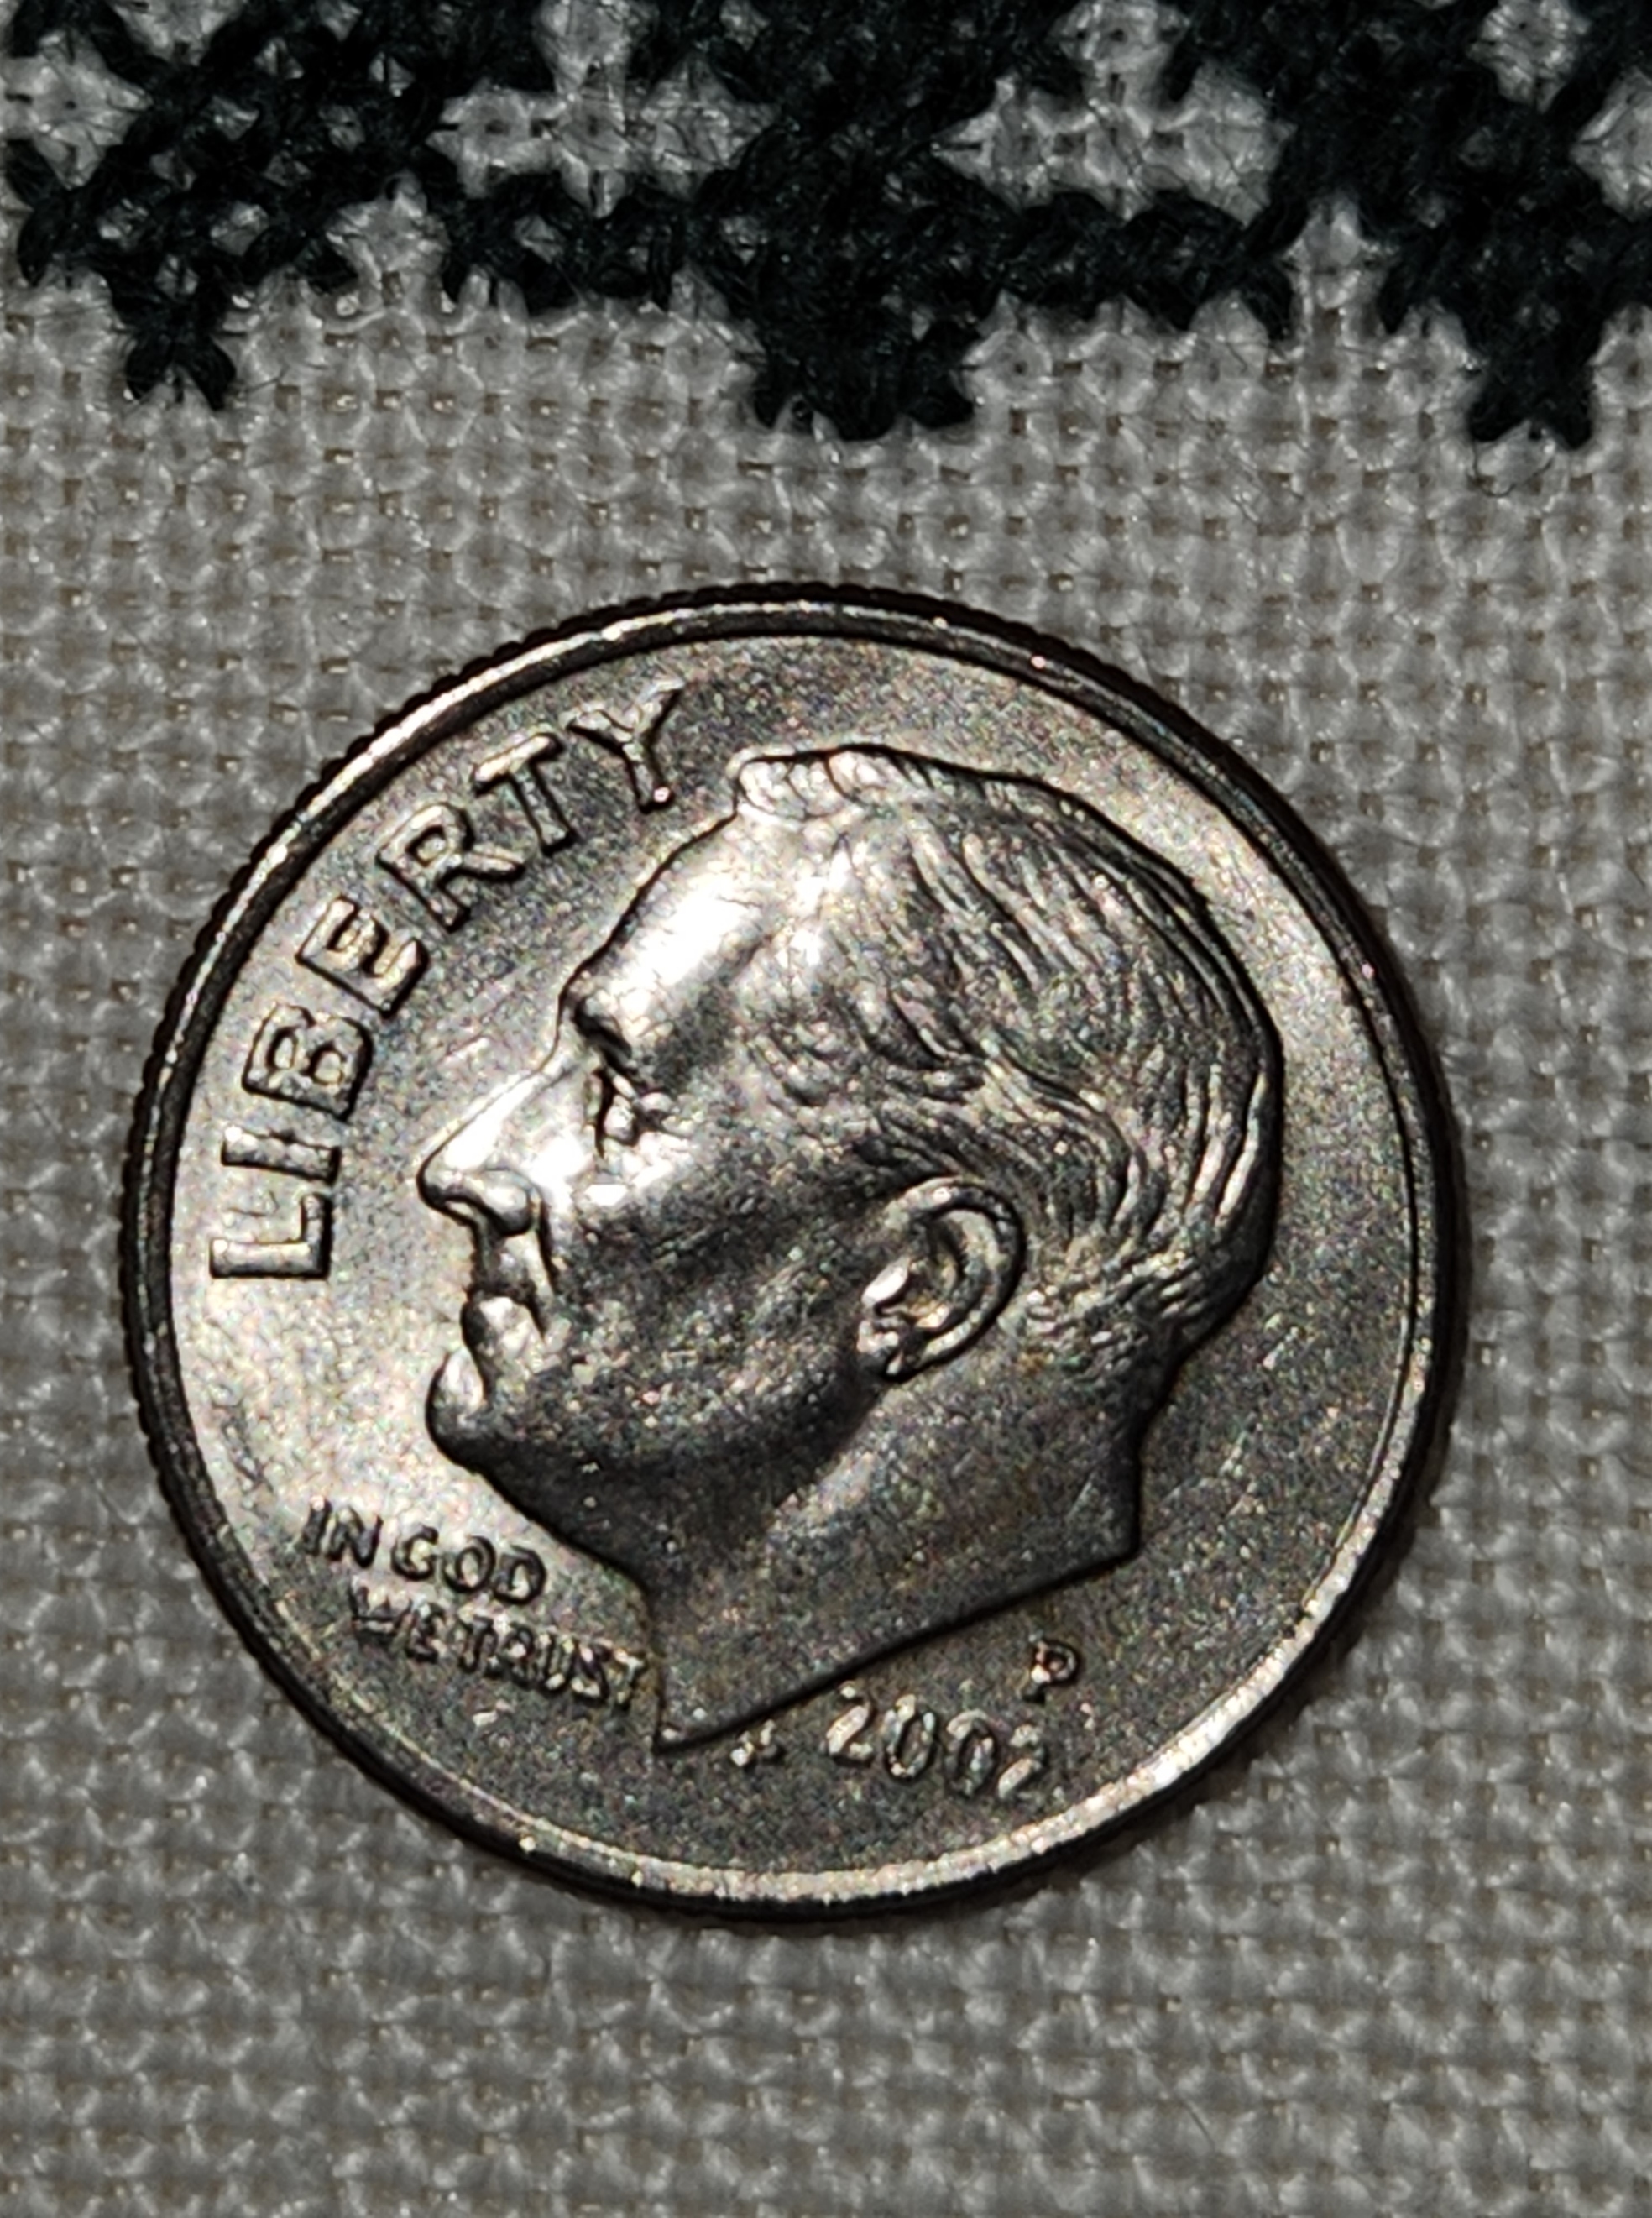
I picked the dime because it’s smaller than the nickel or quarter, and easier to count around the outside edge without losing your place. Counting the threads totally covered by the dime, heading north to south, we get a total of 26. And by counting the number of totally covered threads east to west, we also get 26. The first conclusion is a happy one. We have an evenweave.
Now for the math.
The official diameter of a US dime, as stated by the US mint, is 0.705 inch (17.91mm). I will continue the math here with threads per inch rather than metric to avoid confusing US folk, but the same method works perfectly well with metric measurements. And if you know the measurements of any other coin used anywhere else in the world, you can adapt this for local convenience, worldwide.
So what we have is 26 threads over 0.705 inches. We divide 26 by 0.705 and we get 36.88 (roughly). We can round that up to 37. My fabric in this sample is 37×37 threads per inch.
Let’s confirm that.

Yes, 37.
And you are right that’s a decimal inch ruler. I am proud to be an Engineer’s Daughter, and have many of my dad’s old drafting aides. I deliberately did NOT add any assisting lines to the ruler photo as proof of my assertion that it is FAR easier to count the threads obscured by the coin, going around the edge of the coin, than it is to do a straight line count across a ruler’s edge. It’s also FAR more likely that I would have a dime handy than a ruler in my pocket when I am out and about in the wild.
Try again. This time finer.

I get 31 in the north-south direction and 28 in the east west direction. This piece of linen is a skew count, with more threads in the vertical than the horizontal. Doing the math:
- Vertical (north-south) 31/0.705 = 43.97, rounded up to 44 per inch
- Horizontal (east-west) 28/0.705 = 39.71, rounded up to 40 threads per inch
Now, does a skew count mean that effective countwork can’t be done? Absolutely not. Here is the piece that I used for the second example:

The slightly skew count means that over the same length there are more stitches in the vertical direction than there are in the horizontal. My mermaids are then a bit squished in height compared to their width because the vertical stitches are a tiny bit shorter than the same number of stitches over the horizontal. But the only place that this is evident are the large, symmetrical flowers just above their tails. You can just make out the height elongation in them because (logically) they are supposed to fill a square volume, not a rectangular one. Here is an old post that discusses this challenge further, and shows what happens when you wrap a design around a corner on a skew count fabric, and confesses that flipping your measurements is an easy mistake that even I make..
For the record, I stitched this piece in 1994, from a chart I redacted myself. The photo source that I worked from was in Schuette and Mueller-Christensen’s Pictorial History of Embroidery. I presented this chart along with my own original accompanying border on Plate 75 in my own The New Carolingian Modelbook, published in 1995.
As for the piece I used for the first example? The full Don’t Panic chart is a free download on my embroidery patterns tab, right here on String-or-Nothing.
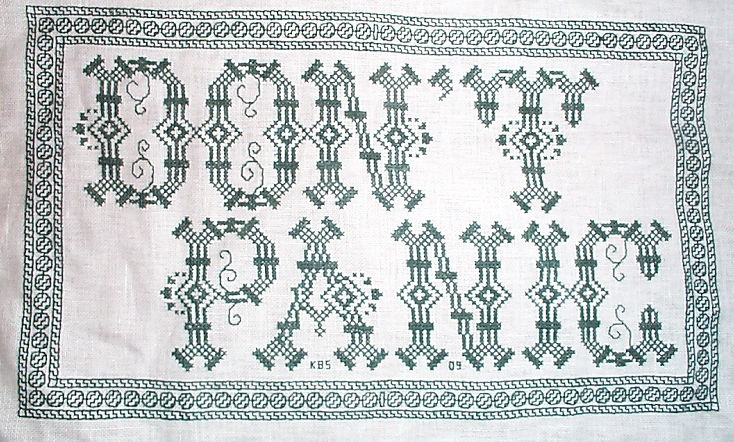
Don’t Panic is in fact the best advice I can give to the math anxious among us.
TEN DAYS OF PROGRESS – KNIT METHOD COMPARISON
Coming to the end of our recuperative sojourn out in North Truro. I had hoped to post pix of the aurora from here, but sadly last night was heavily clouded, and windy. So I maintain my record of weather-related disappointment in relation to notable sky events.
But that doesn’t mean that nothing has been accomplished in the past week and a half. I’ve been knitting, stitching, and working on various book-related projects.

That’s four of the hat bodies for the frog hats done, with another about 40% done. That leaves only a couple more to go, then I will begin the army of eyeballs for them all.
One large skein of THE Herschnerr’s afghan yarn makes about four hats. I am not any more pleased with it for knitting than I was with it for crocheting (it’s leftover from the Eyeball Bolster). It squeaks and splits. And being mid-range acrylic, is not “heirloom quality.” But for a topical hat whose topicality won’t last long, and being on hand rather than a new purchase, it is good enough.
One thing I’ve done is to check my speed and uniformity across a range of knit-in-the-round methods. Counting from the upper right, Hat #1 was done using the Magic Loop method. That employs one overly long circular needle. The excess cable length is drawn out into a loop between two stitches roughly on the opposite side of the piece from the point where one is knitting. One works to that loop, then pulls the excess out to make a new loop 180-degrees from the loop that has just been encountered. For the record, I find it quite awkward, an annoying break in the rhythm of production, and prone to distending stitches.
Hat #2 was done using just one circular needle of as close a size to the circumference of the hat as I had in my collection. Round and round, yanking the stitches across the joins as I went. I didn’t enjoy this one either. I find that circs of that small size have needle parts that are not long enough for my overly large paws. My fingers might not be pianist long, but my hands are quite wide. I wear men’s size golf gloves because women’s gloves are too narrow. Hand size plus the way I hold my needles for Continental style work means that my ring and pinky fingers support the weight of the needles and the piece. Using a circular this short makes me grasp cable, not the sturdy needle parts. Harder to hold, harder to maintain unform stitches, and harder to form them at speed.
Hat #3 was worked entirely on DPNs. Now I’m more in my comfort zone. But being out here on the Cape I only brought my set of mismatched but brightly colored Boye aluminum DPNs. They are seven inches long (about 17.78cm). I much prefer my vintage European DPNs from Inox, which were 8 inches long (20cm). I should have grabbed them, but didn’t. The short Boyes worked well enough for the K2P2 ribbing, and I flew through that section, but when I changed to stockinette, the extra width of the knit fabric without the draw-in of the ribbing made keeping all the stitches on the needles a bit difficult. I had to stop to retrieve dropped stitches more often than I anticipated. That slowed me down and affected uniformity of stitches, even though I’m a proven DPN warrior.
Hat #4 was worked with two circulars. This is a hybrid method. Each circular holds half of the stitches. Using both ends of the first needle, you work the stitches across the front of the piece, then you switch to the other circular, and use both ends of it to work the stitches of the back. Unlike with DPNs where the needles travel around the work, with each DPN advancing to the next position as it is freed then employed for the next segment, the two circulars in this method NEVER change places. Yes, there is a bit of awkwardness as one fishes for the correct end to use and then moves stitches up into working position, but it is not as fiddly as Magic Loop. And unlike Magic Loop, there is no distortion between stitches because there is no spot where the cable loop has to be drawn out. I also found that the in between needle bits did not ladder, but that may be because as an experienced DPN jockey, I tensioned across the gap in the same way that I do where two DPNs meet. All in all this worked quite nicely, especially for the stockinette part.
Hat #5 (in process) will be the “best of both worlds” piece. I started it on DPNs for the ribbing – proven faster for me than the other methods, and moved to two circulars for the stockinette tube section – the best for maintaining sanity and uniformity given the needle assortment I have with me here on the road. I will probably continue on two circs for a while and then when it’s convenient, switch back to the DPNs for at least half of the crown. That will minimize the needle ends flailing around part when the decreases begin to make a major dent in total stitch count. In all probability I’ll keep working this mixed method way for the remaining few hats.
For the record, the eyeballs will all be done on DPNs in a smaller size than the hat bodies. I want them to be nice, tight spheres, suitable for stuffing. So instead of these 3.5mm needles I’ll be moving down to 2mms, or possibly even smaller. Much experimentation is anticipated.
Also in the photo is the latest progress on my Italian multicolor stitched piece. I’m well into the third corner, having done the math correctly (thank goodness). No need to improvise a new corner. I know the museum original had four different corners, but in this case I’m glad to have to do only one.
The long stretch across is next. I have confidence that I am not off in count, so everything should align when I get to corner #4 and the the shorter march to rejoin my point of origin, but in case it doesn’t that last corner is where any fudging will occur. In the mean time I will work with my usual mix of confidence and suspenseful apprehension, plotting out just-in-case strategies so I have them if needed.
And they say that needlework as a hobby has no drama… If only folk knew.
CHARGING AHEAD ON MULTIPLE FRONTS
We are making headway here!
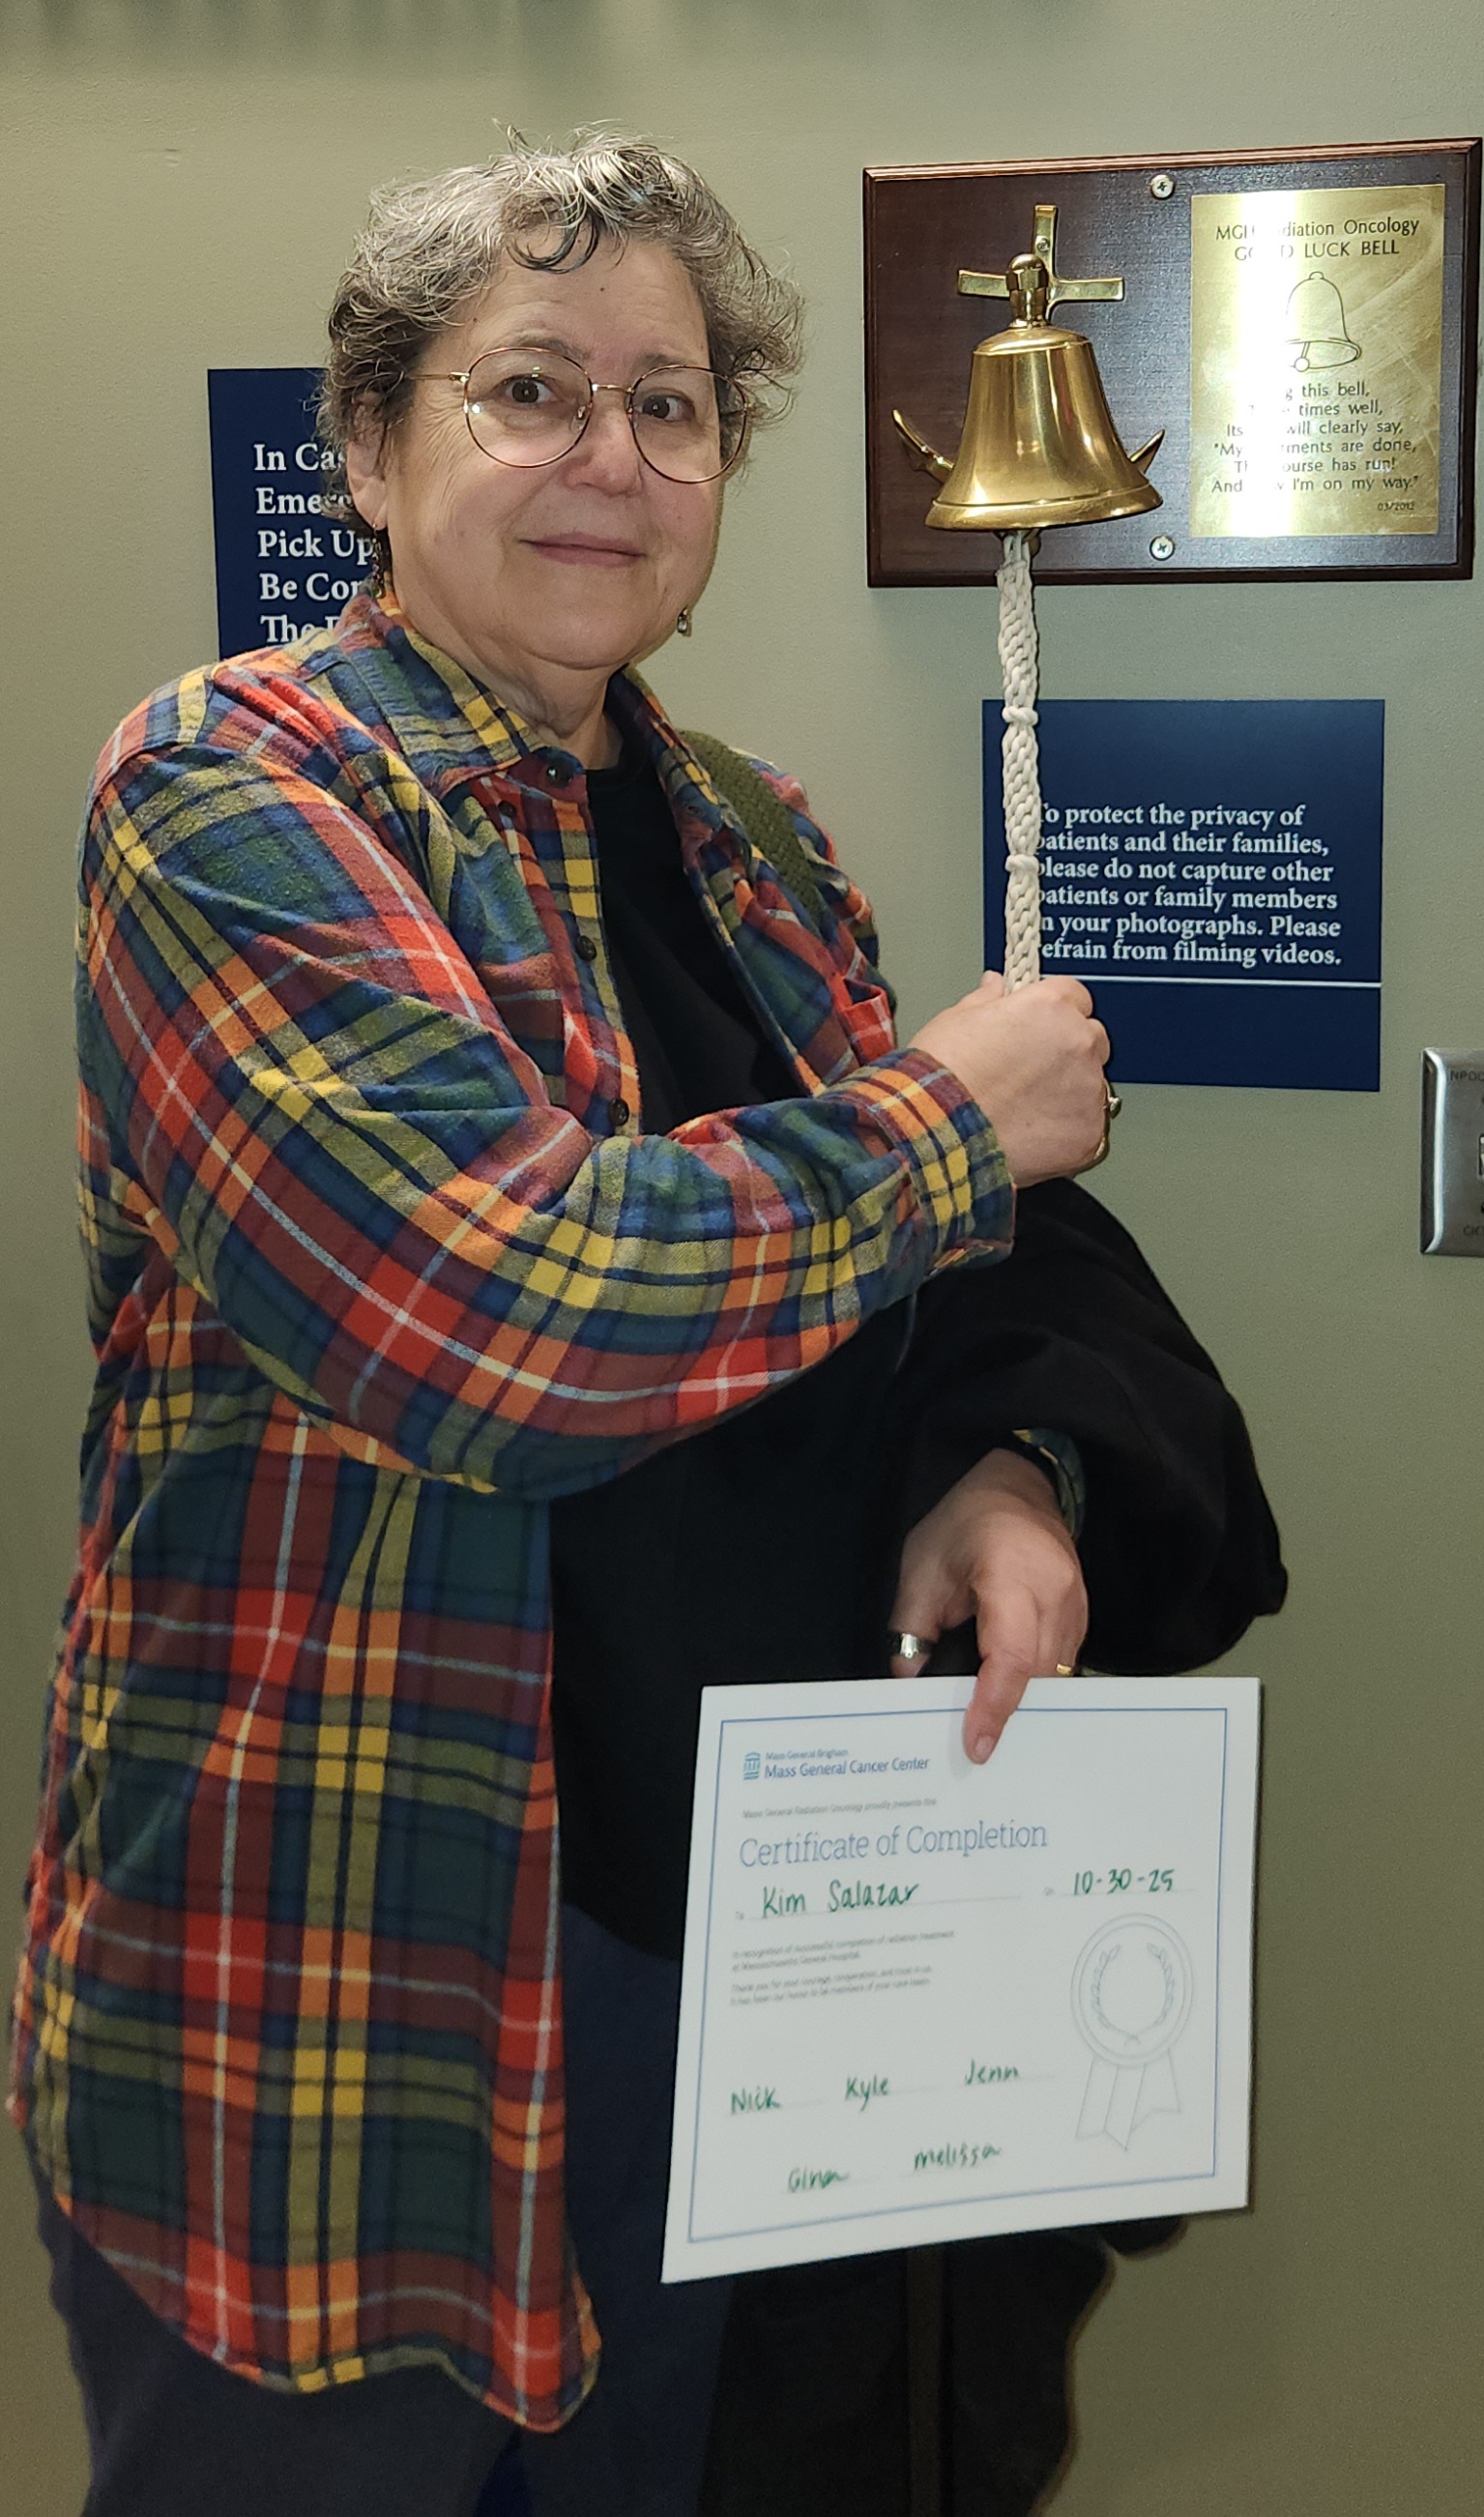
First, as I announced on FaceBook, I have completed radiation therapy. Minimal side effects to report even at conclusion of the course. We are now taking a bit of ease to recuperate both from the therapy itself, and having to drive out in the pre-dawn hours for 6:45 am appointments. 40 days of that doesn’t sound too bad when compared to the decades over which we left early as commuters, but once you are no longer used to being part of the Dawn Patrol, it becomes a lot harder.
Special thanks to the radiation crew Mass General Hospital, who greeted me every morning with good humor, efficiency, and a steady tolerance for my unorthodox music requests. I suspect that at least one of them has signed on to read here at String because of a mutual interest in knitting. If so, please pass the word back to the whole gang.
Second, my Italian multicolor piece is zipping along. I’m almost at the halfway point for the outer rim.

I’m 99% sure I will meet my horizontal centerline spot on in terms of thread count. I adjusted the total width to ensure that my corners are identical. There is one tiny mistake I need to go back and fix, but it is not something that has an effect on band width or repeat cycle. I could leave it, but I won’t.
And as you can see I am also making rapid progress on the frog hats – my third front of advance. Frog Hat #1 is now well underway. I admit that aside from the initial cast-on number I have not paid much attention to the general pattern I am using as my source. I’ve used a different cast-on, swapped in K2P2 ribbing for the original K1P1, and arranged the thing so that when the brim is folded, the more attractive side of my cast-on is on the outside of the hat. And yes, I’m working in the round on two circular needles.
Next comes hat depth and the decreases. I want the hat to fit rather sleekly rather than being full and floppy, so I will probably go short on the total depth compared to the written instructions. We’ll see if I follow the pattern’s decrease or if I end up opting for something more rounded.
My goal is to work the boring hat portion of at least four of the batch of hats I intend to make. Once those are complete I will make the eyeballs and eyelids, then finish off by sewing the eye units onto the hat bodies. Given quick progress on first hat (and that done while I still carved out time to embroider), I do hope to complete the minimum of the hard-promised four by the new year. The others are optional and will depend on available yarn, time, and my own rather spotty attention span.
I leave you with a repeat of the somewhat disheveled, early morning bell-ringing photo I posted on FB to celebrate my liberation from therapy. And yes – my last day’s music request was the 1812 Overture. You can’t celebrate an Independence Day in Boston without it. Especially because the MGH hospital complex is close by the river, and on upper floors commands a lovely view of the Esplanade where the annual 4 July celebration takes place.