Progress and some potentials to report. First the progress:
I’m closer to finishing the initial seaming of the eyeball squares for the bolster cushion. Here are all of them. The group indicated by the yellow brackets on top is the front. It’s 12×4 units, all sewn together. The group in the yellow brackets at the bottom of the page is the back. I’ve just begun sewing the last course of 12 onto the other three.

Then there are the loose piles between the front and back, and to the right of the back. Those are the squares that will make up the sides. That’s another two strips of 12, and two strips of four. After I finish the seams on the back I will assemble those strips. After that will come an orgy of darning in ends. Once all six pieces are neatly finished off I will begin final assembly. I intend to sew the side strips in sequence – long-short-long (leaving one short side out briefly) with the same slip stitch method I used for the front and back. But when I unite the side strips to the front and back I will use a knit-based method rather than a crocheted one. I intend to use knit-on I-Cord edging as my seaming method, to make what will look like a piped edge, to make a green “frame” for the front and back. Somewhere along the way I will introduce a hand-stitched zipper into one short end, which is the reason for reserving that last short side.
I’ve done the I-Cord edging before to excellent effect on pillows. The one in front uses it. (I won’t be doing the free-loop corners though on this piece.)

This is the general look I’m aiming for. This is a bench-type cushion I built and covered for a storage settee that’s now on our enclosed front porch. This piece was sewn, and that corded piping was introduced with it was seamed together.
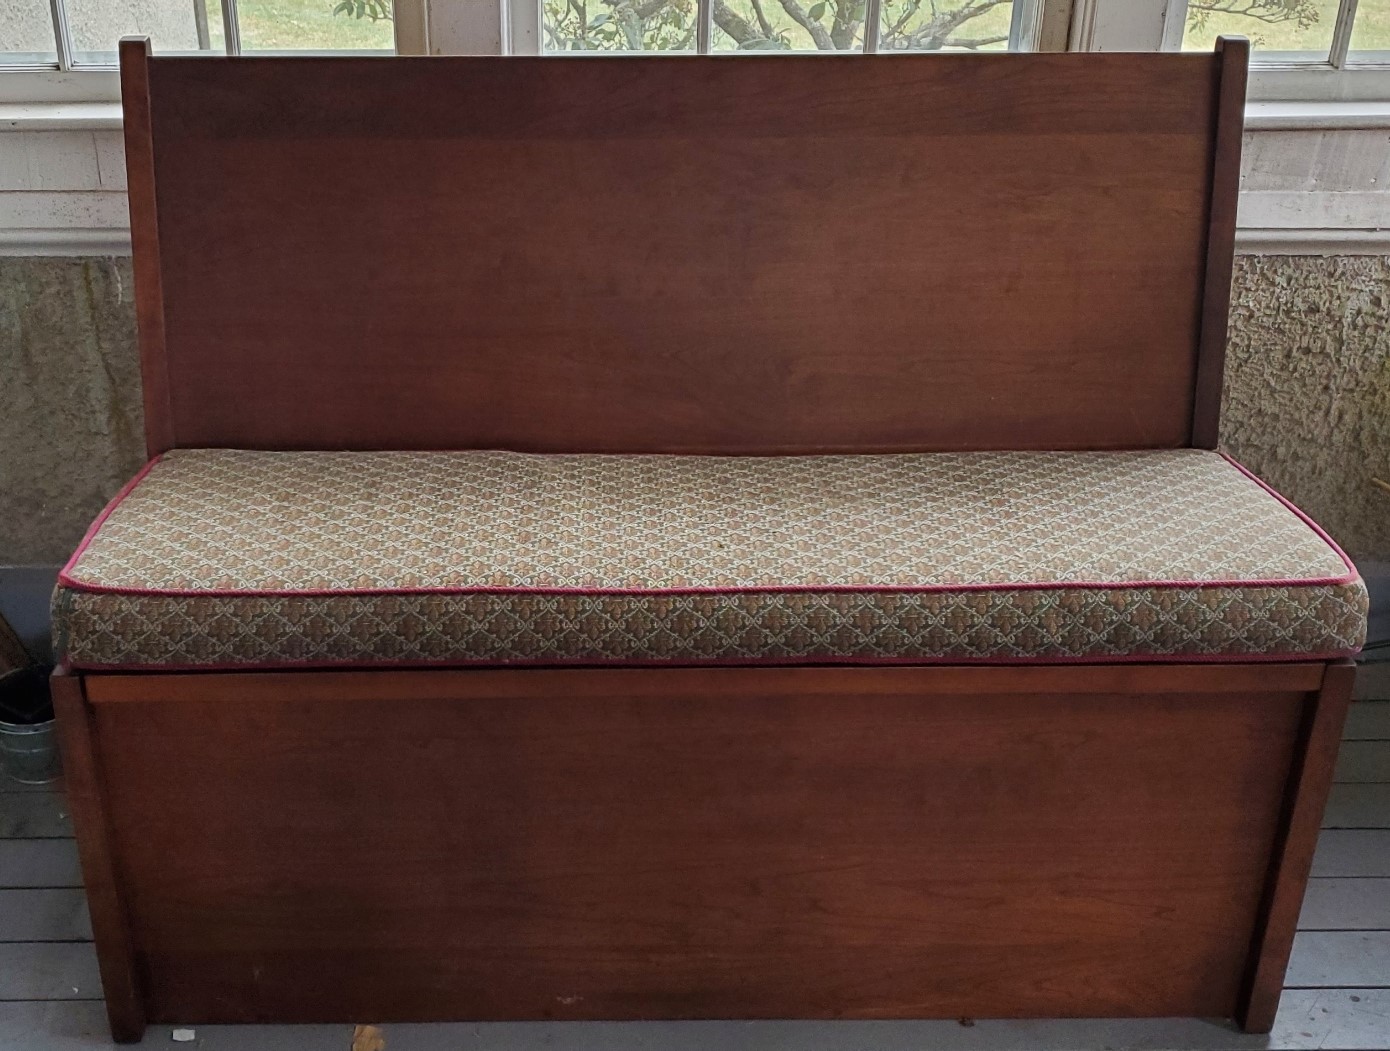
For the record, this cushion was built in the same way I intend to build the eyeball bolster – a slab of foam, wrapped in quilt batting, seamed into a permanent cover. But the eyeball bolster will have an additional removeable inside cover between the crochet and the permanent cushion. Crochet by its nature is rather see-through, with lots of small holes. The inner, removeable cover will be a heavy black cotton duck or canvas. Removeable just in case something is spilled on the bolster. It along with the decorative crochet cover will both be washable.
So even though I am almost done with eyeball assembly there’s still a lot of work to go on this piece.
Now on to other possibilities.
Thanks to the generosity of a long time friend, I find myself in possession of a set of twelve magnificent linen napkins. Never used. I had lucked into a similar but well-loved set of twelve at an estate sale this summer. I now have double the possibilities. First, both are eminently stitch-able:


The unused napkins are on the left, and the well worn ones are on the right. Counting threads and doing the math for the Penny Method the approximate thread count for the new set is roughly 40×40, and the old set is about 38×38 threads. Small, yes, but not impossibly so.
Now what to make….
I have many thoughts on this. First is the obvious, just embellishing one of the sets for obvious use as napkins. I’ve thought about doing a set with a big initial S in one corner, but each done in a different antique alphabet. This is a prime source for alphabets as magnificently ornate and over the top as anyone could desire.
The second possibility is a pieced tablecloth. There are all sorts of Renaissance examples of tablecloths and devotional pieces pieced together, some probably re-using earlier stitched fragments, others purpose-done. Some unite countwork pieces with darned net strips, others combine cutwork and other contemporary embroidery forms. Much to think about here and a lot of potential learning.
A third possibility also looms, for the well-used napkin pile. I have wanted to stitch a peasant style blouse for myself, using some of the more outre strip designs in my personal collection. Like dinos, for example. I am not quite sure how I would go about it, but I think with cleverness I could get a square yoke out of one or two napkins, a gathered body below that, and full 3/4 sleeves, also gathered. I have to mock this idea up with tissue paper to see if I have enough yardage, but I should.
I guess the moral of the story is that retirement is not idleness!

So, I was looking for something similar to make from those tea time tablecloths. On Etsy I found the one yard minimalist shirt. Worked great for making a shirt with a square neck, especially since I had embroidery plans for the shirt. If you buy this pattern, follow the instructions for making the neck opening smaller at the shoulder. My first go, I didn’t do that, so now it’s a beach cover up. Luckily I didn’t use the linen for the first one. This pattern is made for hand sewing. I did mine by machine. I found 2 of those small tablecloths in Belgium linen at a thrift store. One had been started and the other new. I have picked the cross stitch out and laundered the linen so that the blue lines disappeared. Now I just have to decide on the embroidery. Have fun.
Will certainly look into this! Thanks for the lead.
You were asking about your children out in the world. I got a photo from the SF School of Needlework and I’d like to send it to you. But I can’t send a photo to this link.
Thanks! My gmail is Kbsalazar (standard gmail address format).