And just like that, the cover is finished and mounted on the target book:

And pix of the thing off the book, Here’s the outside, with everything finished off and sewn flat:

And the inside (with my reverse in all its messy splendor):
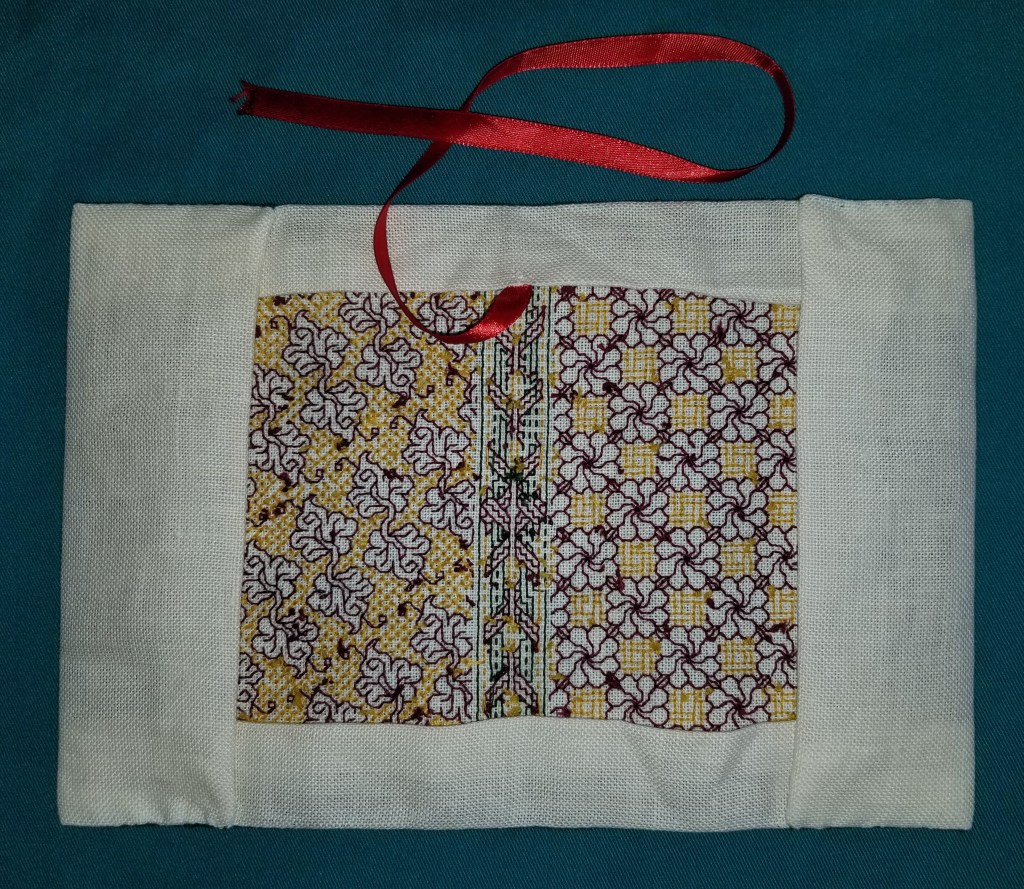
To clarify what was done:

- As shown above, first I folded in the top and bottom flaps, but I didn’t bother to hem them – I just made sure that the raw edges were covered. There will be no wear and tear on these flaps, so there was no need to protect them further.
- Then I folded in the left and right flaps. BUT in this case, because the book covers may slide in and out of the stitched jacket (if the recipient decides to feature the other side as the front cover, or ever replaces the book itself) – I did hem them for stability.
- The next step was to stitch the placeholder ribbon to the underside of the top flap. I left it extra long, so that it could be fished out and used, no matter which of the two sides of the embroidered jacket were deemed to be the official front.
- After all four flaps were prepped I stitched the edges of the left and right flaps to the top and bottom edges of the book cover’s front.
Now that last step can be done in several ways. The easiest is a simple whip stitch or invisible hem. But I never take the easy way out. Instead, I went back and extended the green double running line that defines the top and bottom edge of my stitched area out along my fold. I couldn’t put the thing back into the frame, so I did it in hand. Then having two green lines established, I used the same green embroidery floss to work them together, following (more or less) the logic that people who make biscornu use to seam together the two squares that form their curious little pincushions. A good tutorial for that is here.

The image above shows my wobbly last minute double running stitches, and how I united them front and back to make a heavier edge seam.
Finally, having done all of the finishing work, I slid the book’s own covers into the flaps of my stitched jacket. Here you see them in place, with the handy help of a large corkscrew, since I was running out of hands to hold everything in place.
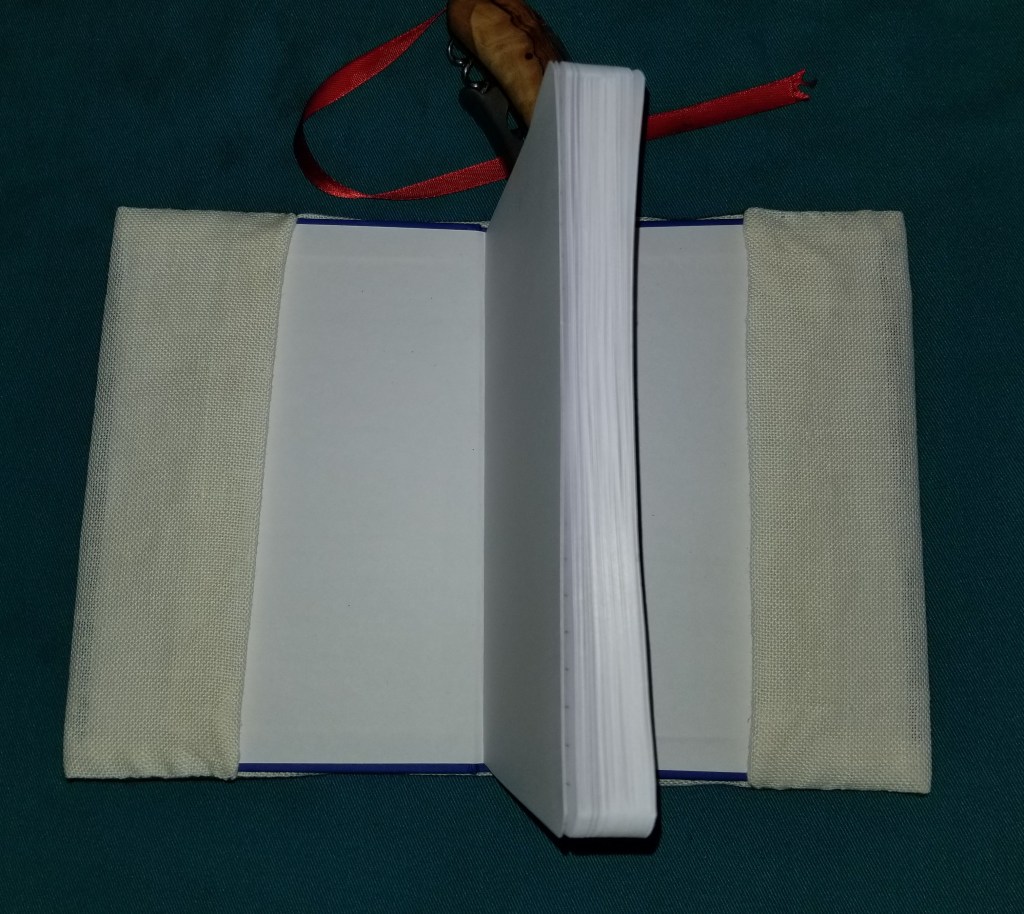
And so, taaa daah! A small book with a nifty cover. A stitched project that doesn’t take up wall space, that can be adapted to any size book you have on hand. Embellish a devotional book that means a lot to you; or at the other end of the spectrum, disguise a racy novel for discrete subway reading. Use any pattern that tickles your fancy. Or several if that’s what speaks to you. But whatever you do – enjoy, be creative, and feel the pride in coming up with something that’s specifically and personally meaningful to you.
This concludes my stitched book jacket tutorial. Please post questions if you have them – I’ll do my best to answer.
