I am working on a couple of things here at String Central. One I can talk about. The other is mysterious and can’t be shown yet.
First – the progress on the masks. First side of the first one about at the half-way point. I had to take a week off from stitching for family reasons.
As anticipated, this early-experiment thread sheds dye, and picking it out leaves smudges. As explained before, I don’t care. These masks are not undying heirlooms of my house. They will bleed and spread dye during wash anyway. And I think that once that happens, the effect will be interesting.
The pencil outline you see barely traced onto the cloth is for a mask of this style:
The source of the pattern is the two-tie fitted variant published in the New York Times, back in March.
UPDATE: The link above appears to lead to a page that’s behind the New York Times paywall now. But fear not! They in turn got their design from FreeSewing.org, The edition of the design The Times posted nests three sizes on one printable PDF page, a pretty standard approach for sewing patterns. But since their original issue in March, FreeSewing has expanded the range of sizes for their design. If you click here, you’ll go to a page that lists a full range, from toddler to men’s ultra, plus how-to directions. More sizes for sure, but still the same basic pattern I used.
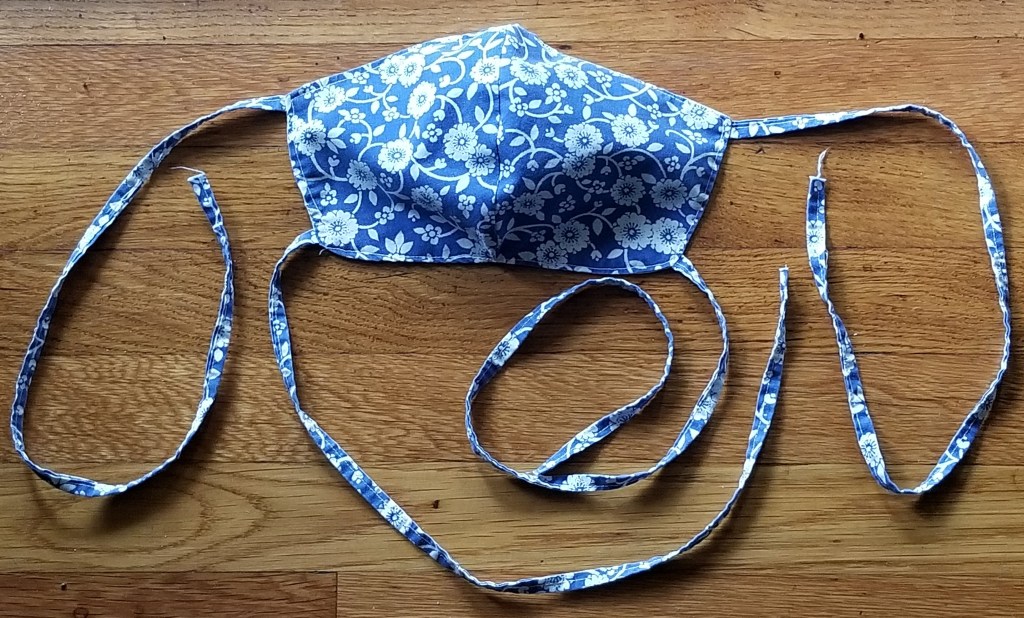
I’ve made quite a few of these for family and friends. It’s a bit more complicated than the pleated kind, but it fits us better. I make the largest size for adults (what in the update is now called Men’s Large), and use two or three layers of tightly woven 100% cotton percale (well washed). I substitute a long double-folded strip of the same fabric for the ribbon ties called for in the original pattern directions – mostly for durability in the wash. Precision isn’t important for the ties – I cut a long strip on the grain (not bias) – about 5 to 6 feet long and about 1.5 to 2 inches wide (152 to about 183 cm long, and about 3.8 to 4.5 cm wide). I iron it in half, folded down the center of the strip (parallel with the long side), then iron the cut edges to the center fold. Then I sew down the entire length of the long strip, an cut it into four equal pieces for the tie.
The blue flowered one above is sewn from the last remnant of the sheet set I took off to college in 1974. I had this print in red and blue, with a matching comforter. Over time the set became curtains, tote bags, cushion covers, baby carriers and crib furnishings. Ever dwindling in size, and picked apart for reuse multiple times, I had just enough left for several masks.
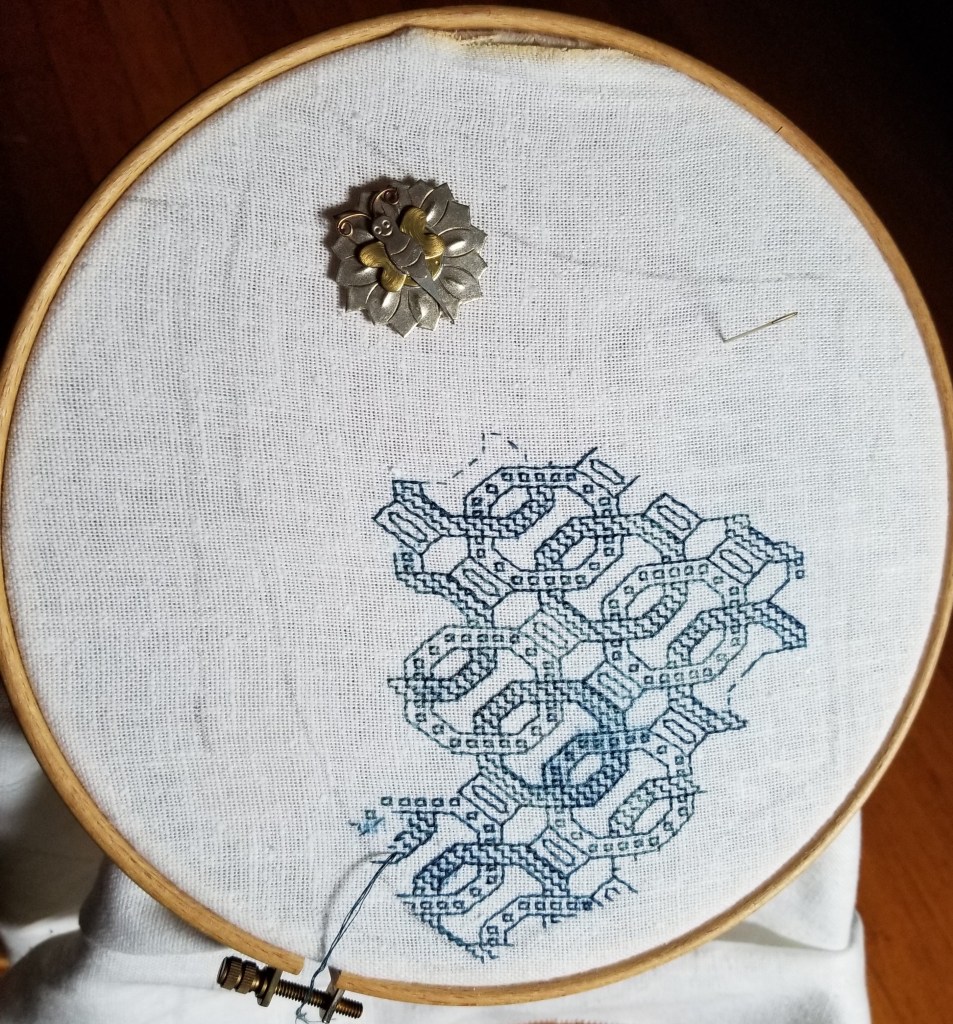
The fabric on which I am stitching the fancy design is no where near tight enough to provide effective coverage, so it will be a top, decorative layer over a double thickness of the standard high-count bedsheet percale.
My ground cloth has four two-unit sets traced onto it (each mask has a left and right side, seamed together at the center). I intend to stitch as many as I have the patience to do, but not cut them out until all I will be making are complete. But the loose weave and the embroidery both pose problems. I could cut veeerrrryyyy carefully to avoid nicking the stitching, but even if I did, the edges of the rather coarsely woven ground would ravel either during assembly or more probably, when the things are washed between uses.
So I am deliberately stitching past the half-inch seam line, right up to the cutting line (my pencil mark). The seaming line is a half inch (about 13mm) inside the cutting line. That half inch is the seam allowance – the bit you see turned inside at the seams in most sewn items.
Before I cut these apart I will throw the entire piece onto my Ancient Elna sewing machine, and stay-stitch all the way around each mask piece. I will probably sew multiple rows of reinforcement, but all within the seam allowance area. Then I will cut out the individual pieces and assemble the finished masks. The stay-stitching should secure both the ground cloth and the stitching. Since the reinforced area will be turned under into the seam, it won’t be visible. And I may even go a bit further and apply one of the non-fray fixatives sometimes used to reinforce stress points in applique or quilting. But I’m not sure about that yet – I never use the stuff and I am a bit wary of how it will survive laundering.
Will this work? Stay tuned! Eventually you will find out.

Your mask is looking good! I’d avoid the no fray stuff – unless used with a VERY light touch – it turns hard as a rock. I’ve heard using a steam iron on it before it dries will keep it soft, but I have never tried this. There’s one brand that claims to stay soft. I’d think that the fabric that you are using for the other layer(s) would provide enough reinforcement, once all is turned right sides out. If you still want to reinforce, a small bit of stable fabric or selvedge at the stress points would work too. Besides, once the mask is assembled, it won’t be tied on super tight and under stress. I would keep it so the ties or elastics can be adjusted or replaced easily. I’m hoping we don’t need them so long we need to worry about replacement!
Good points! Thanks. I have avoided the various fray preventive fixatives, and am not familiar with their performance. This helps a lot.
The mask and ties will be two layers of high-count 100% cotton percale, and once everything is assembled, I am not afraid of the hand stitching pulling out. But even so, a couple of extra rounds with the machine on a back stitch variant should give just enough extra insurance. Will post pix of side #2 in progress as soon as I dig myself out of a work avalanche. Again thanks!