After I wrote the last post which gave general directions on how to make a fabric slipcover for a small notebook, I decided I could do one better, and go step by step with pointers. Eventually this will join the tutorial series posted at the tab, above. But that will take a while since I’ll be doing this in real time. Please feel free to join along and work your own book project with me.
Step 1. Making the Book Jacket Pattern
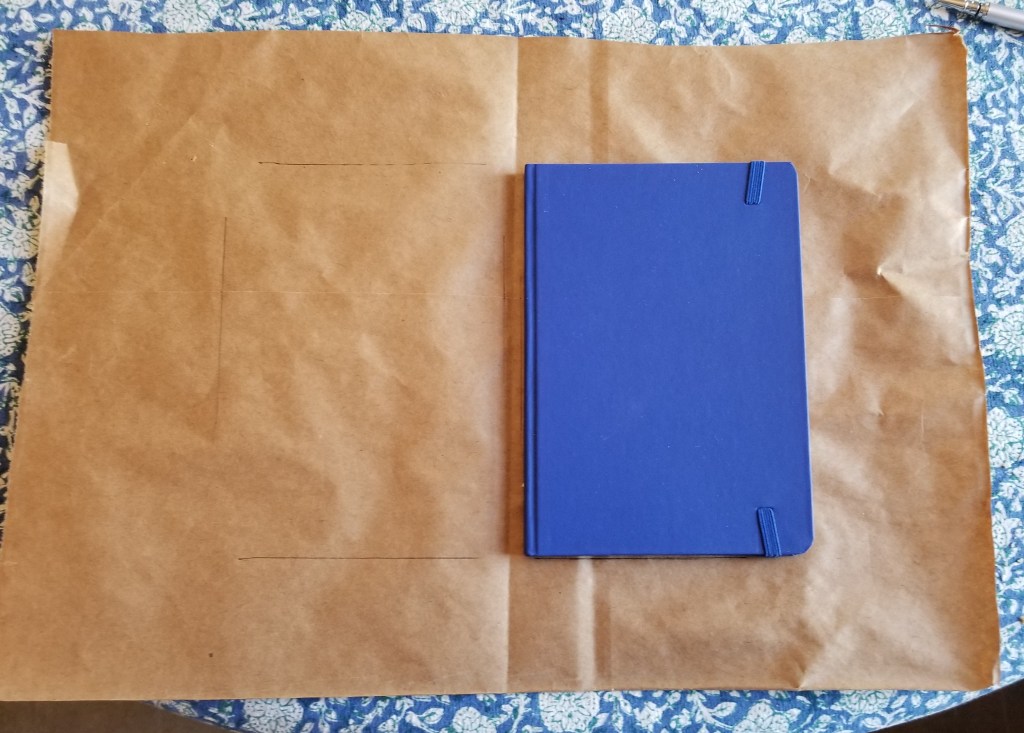
Using a piece of brown paper cut from a grocery bag, I made a pattern/mock-up of my book jacket. This is based on the protective covers we (of a certain age) made to guard school-issued textbooks.
I started by tracing the size of my cover – front, spine, and back – on the brown paper, then I added the extra bits for the fold-ins front and back, plus a small turned in edge across the top. It really doesn’t matter what your book’s dimensions are – just trace it and add the flaps as shown below.
Tracing the book
The layout
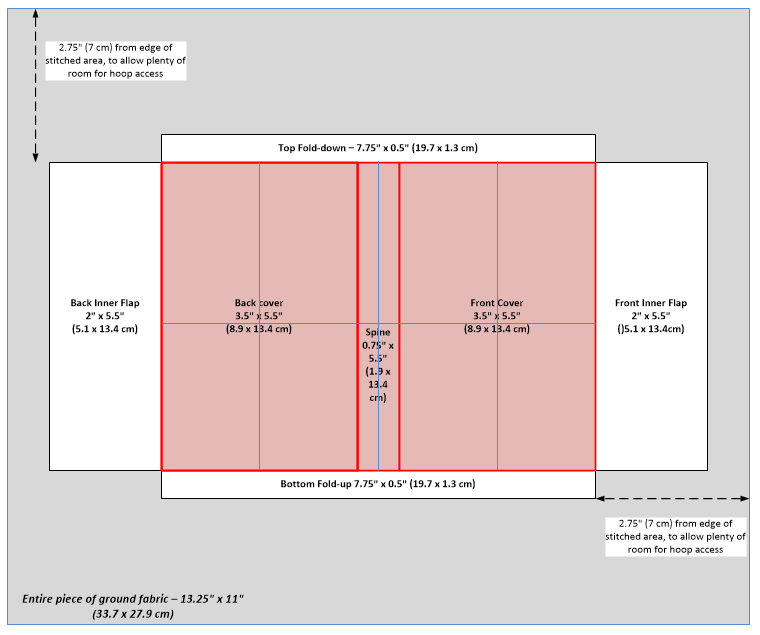
Note that I added some turn-over/hem allowances to the basic diagram above:

Try it on for a perfect fit
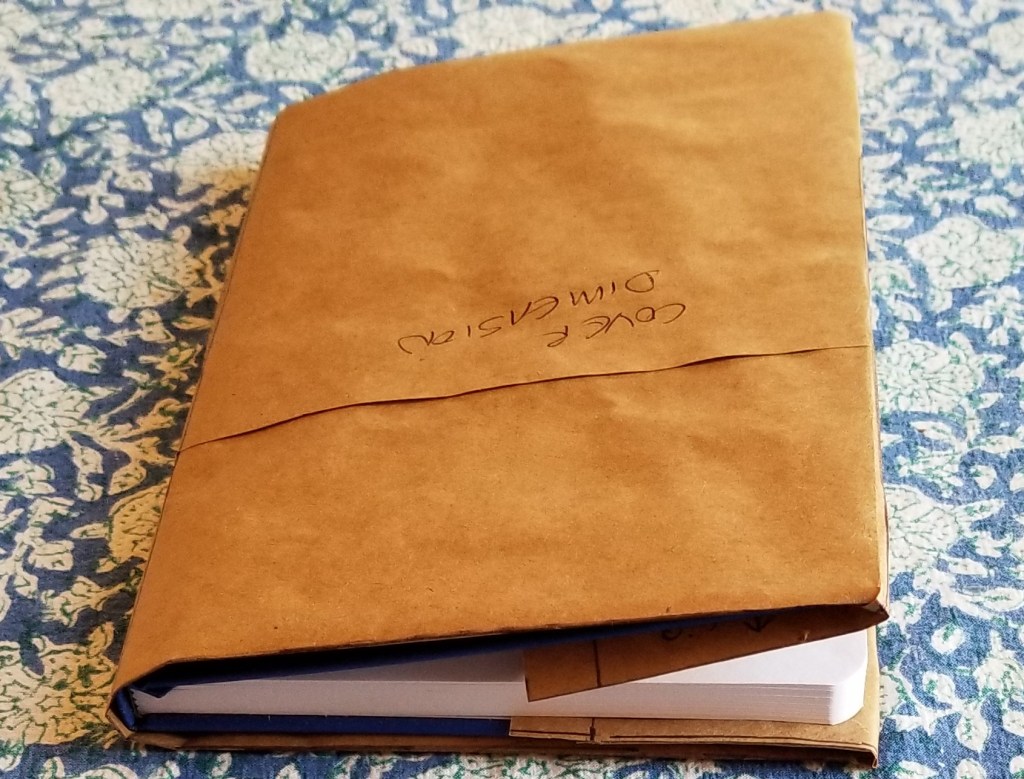
I cut my finished pattern out, folded it and fit it on my target book. Hooray! It fit and the book actually closed. The cloth version will be more stretchy and supple than brown paper, so I have no doubt that the thing will close more completely when it’s final. (HINT: If your book won’t get within inches of closing, redraft, adding a touch more width to the spine).


Step 2. Select and square the cloth.
I dug through my stash and found a piece of even weave that’s slightly larger than my brown paper mock-up/pattern. It’s about 30-32 threads per inch (estimated roughly), which would make it the equivalent of something between 14 and 16 count Aida. One drawback though, the edges do fray if left unhemmed or bound.

Whether you buy a pre-cut piece of even weave or snip your own from yard goods, chances are that the edges aren’t totally even on the grain of the weave. I like to square it off to make sure that my edges are true. I do this by pulling out the short threads that are snipped off at an angle, so that all remaining threads in both directions run the full length of my piece.

In the photo above, with the nasty bits unraveled, you can see that the piece of even weave I bought was not cut true. But now it is.
Why do this? To make sure your piece is neatly aligned on the cloth. It’s less vital on this project than on a sampler or other item you wish to frame, but it’s a good habit to get into, and will save you headaches down the road.
Step 3. Hemming
If you are using a less fray-prone ground like Aida, or just wish to skip this step, feel free. Be aware though that some loss may happen especially if you use and hoop and tug on your cloth to make it sufficiently taut for easy stitching. If you skip hemming, make sure you have an extra half-inch or so all the way around to compensate for any loss.
Were this intended to be a long term project, I’d trim off all of those little mini-fringes, and do a nice double-folded hem all the way around. But this is a quick and dirty project, and one that will finish with (gasp) cutting the ground cloth and discarding all of the existing edges. So I cheated. I just folded down the edges along the weave’s lines and pinched to set the crease and then used the threads I had pulled off the edges during Step 1 to do a plain running stitch, fixing the fold in place. And I didn’t bother trimming off the fuzzy fringes.

Step 4, Pattern Transfer
OK. I’ve got my cloth all prepped, and my pattern constructed. How to get those nice rectangular lines onto our nice, neatly aligned and properly squared/hemmed piece of ground?
I suppose I could trace them. But better than tracing is basting. If I baste using a neutral tone plain sewing thread that doesn’t shed color, I have non-smudge, non-erasable lines that are easy to remove without a trace. But where to put them?
I could take measurements of my cloth and my pattern then do math, and center the thing to within an inch of its life. Or I can cheat, and rely on the fact that I’ve squared my cloth (see!). All I need are a few pins.
I set my pattern down on my ground cloth and eyeball its placement. Then I insert pins to mark the edges of my to-be-stitched areas. In this case, although it’s optional, I also pinned out the location of the flap edges. Then I basted along the even weave grain, along the lines described by the pins. Note that I needed only ONE pin to denote each line:

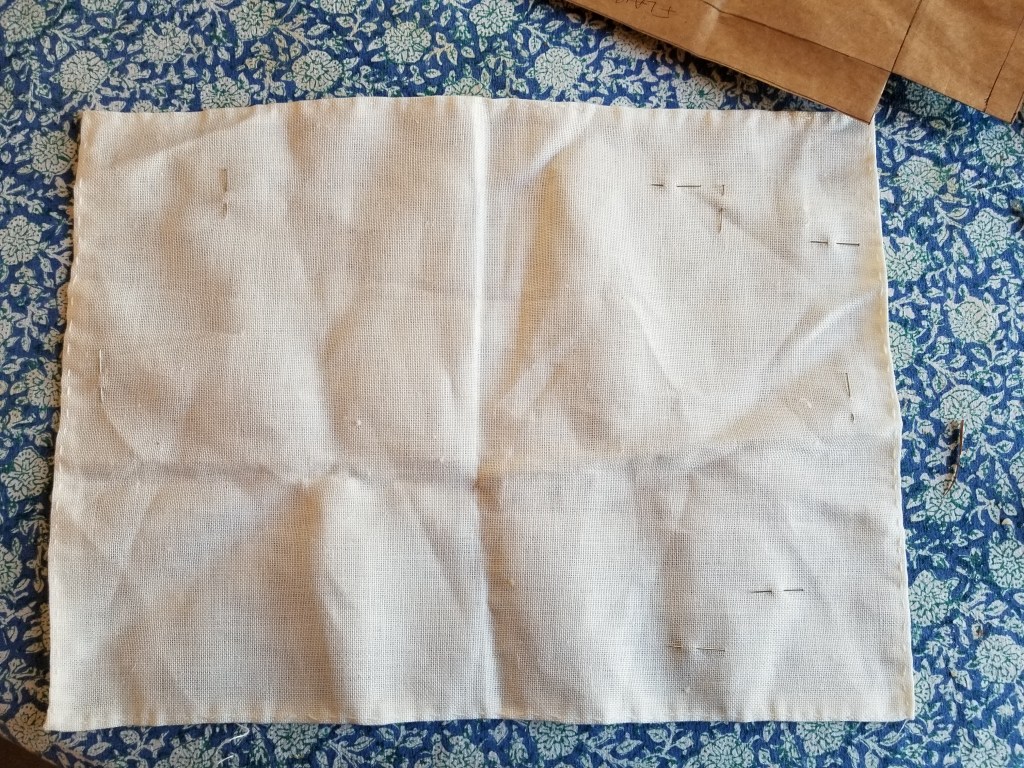

And the final result:

All of my main pattern lines (sans hems) are indicated by lilac basted lines, absolutely on grain north/south/ and east/west with my ground cloth’s weave. It’s hard to see, but I’ve added three more guidelines, in pale bridesmaid’s blue. The mark the vertical centers of the front and back panels, and the horizontal center of the entire piece.
And now I’m ready to think about what stitch designs I will use, what design layout I might attempt, what colors/threads to select, and get started.
Stay tuned…

Thanks, I was just thinking about this.
This is so awesome. I intend to join you hopefully by this weekend. I haven’t done blackwork/needlework in eons but this has me eager to come back. I can still knit. Lol! Thank you for the much appreciated motivation/inspiration/history/instruction you share.
[…] an embroidered book jacket, based on the general instructions I presented earlier this month. The first piece dealt with drafting up a simple pattern to construct the book cover, preparing the piece of cloth I […]