I’m moving right along on the Don’t Be sampler. The cross stitched letters zoomed by. And over the past three days I’ve gotten a good start on the border, as well. Whole piece photo so you can see the overage I’m leaving to facilitate both stitching and final framing, plus the quick hem job.
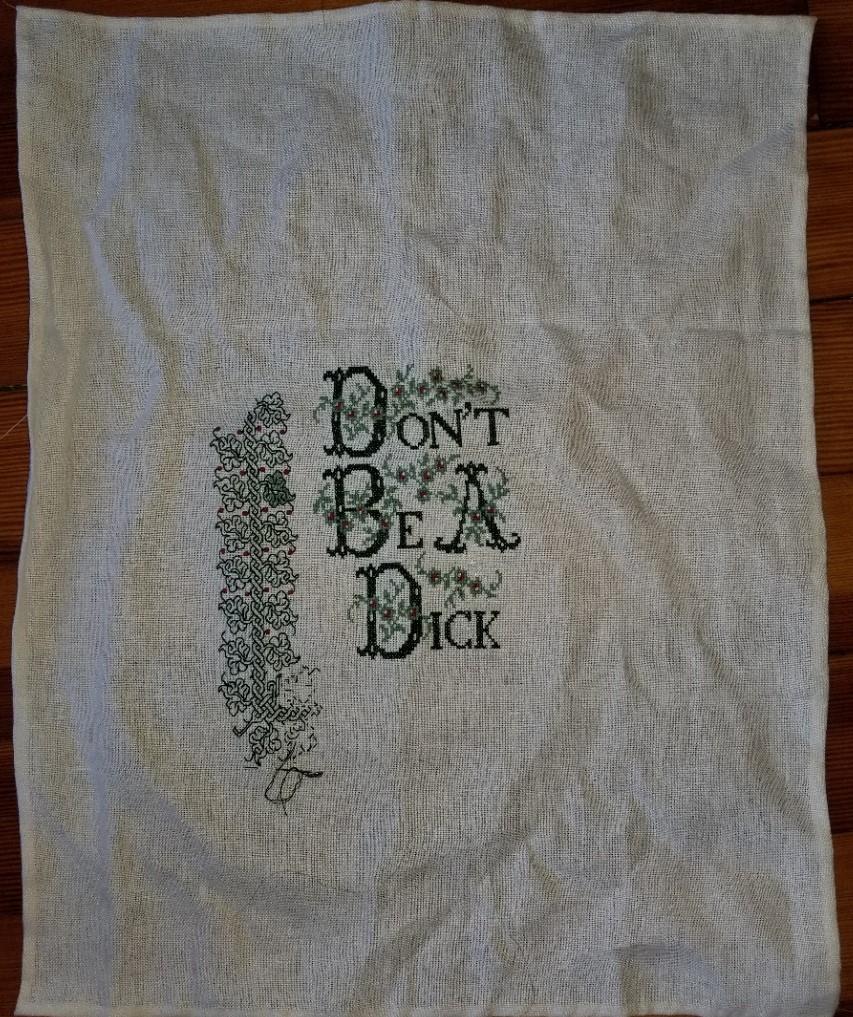
Note that my observation on the skew weave was correct. Those first couple of leaves on the return under the letters are differently proportioned than the leaves in the edge’s vertical part to the left of the motto. That will become more evident as I march along. I don’t remember exactly where I got this piece of pre-packaged ground, or how long it has sat in stash – possibly purchased, possibly as part of a supply salvage gift from a friend who passed it on to me, but certainly not recently. As it is, I will not use anything from defunct company “MCG Textiles” again. Ground sold as evenweave should be exactly that (ok, plus or minus a smidge I will forgive), but a 16% difference between the number of threads in warp and weft is flat out misrepresentation.
The corner is incomplete. I forgot to pack the correct shade of my garnet floss, so the little berries/grapes in the corner will be done later tonight. On the one green leaf, I’m still deciding whether or not to fill in all or some of the leaves. I used plain old cross stitch with one strand of DMC floss for that, flat out skipping partials, and only working full cross stitch X-units. It’s passable. It’s also tedious. When I am done with the double running I’ll make the grand decision. Every leaf, alternating leaves, or none at all.
Now. Where was I that I was working “on the go”?
We ran away to our place on Cape Cod for a last weekend before the renters descend. We went with some long time friends, so it was doubly fun. And I brought this project with me. Folk have asked before how I pack and bring projects, so here’s a thumbnail. Note that I didn’t do it perfectly this time – after all, I ran out of garnet. 🙂
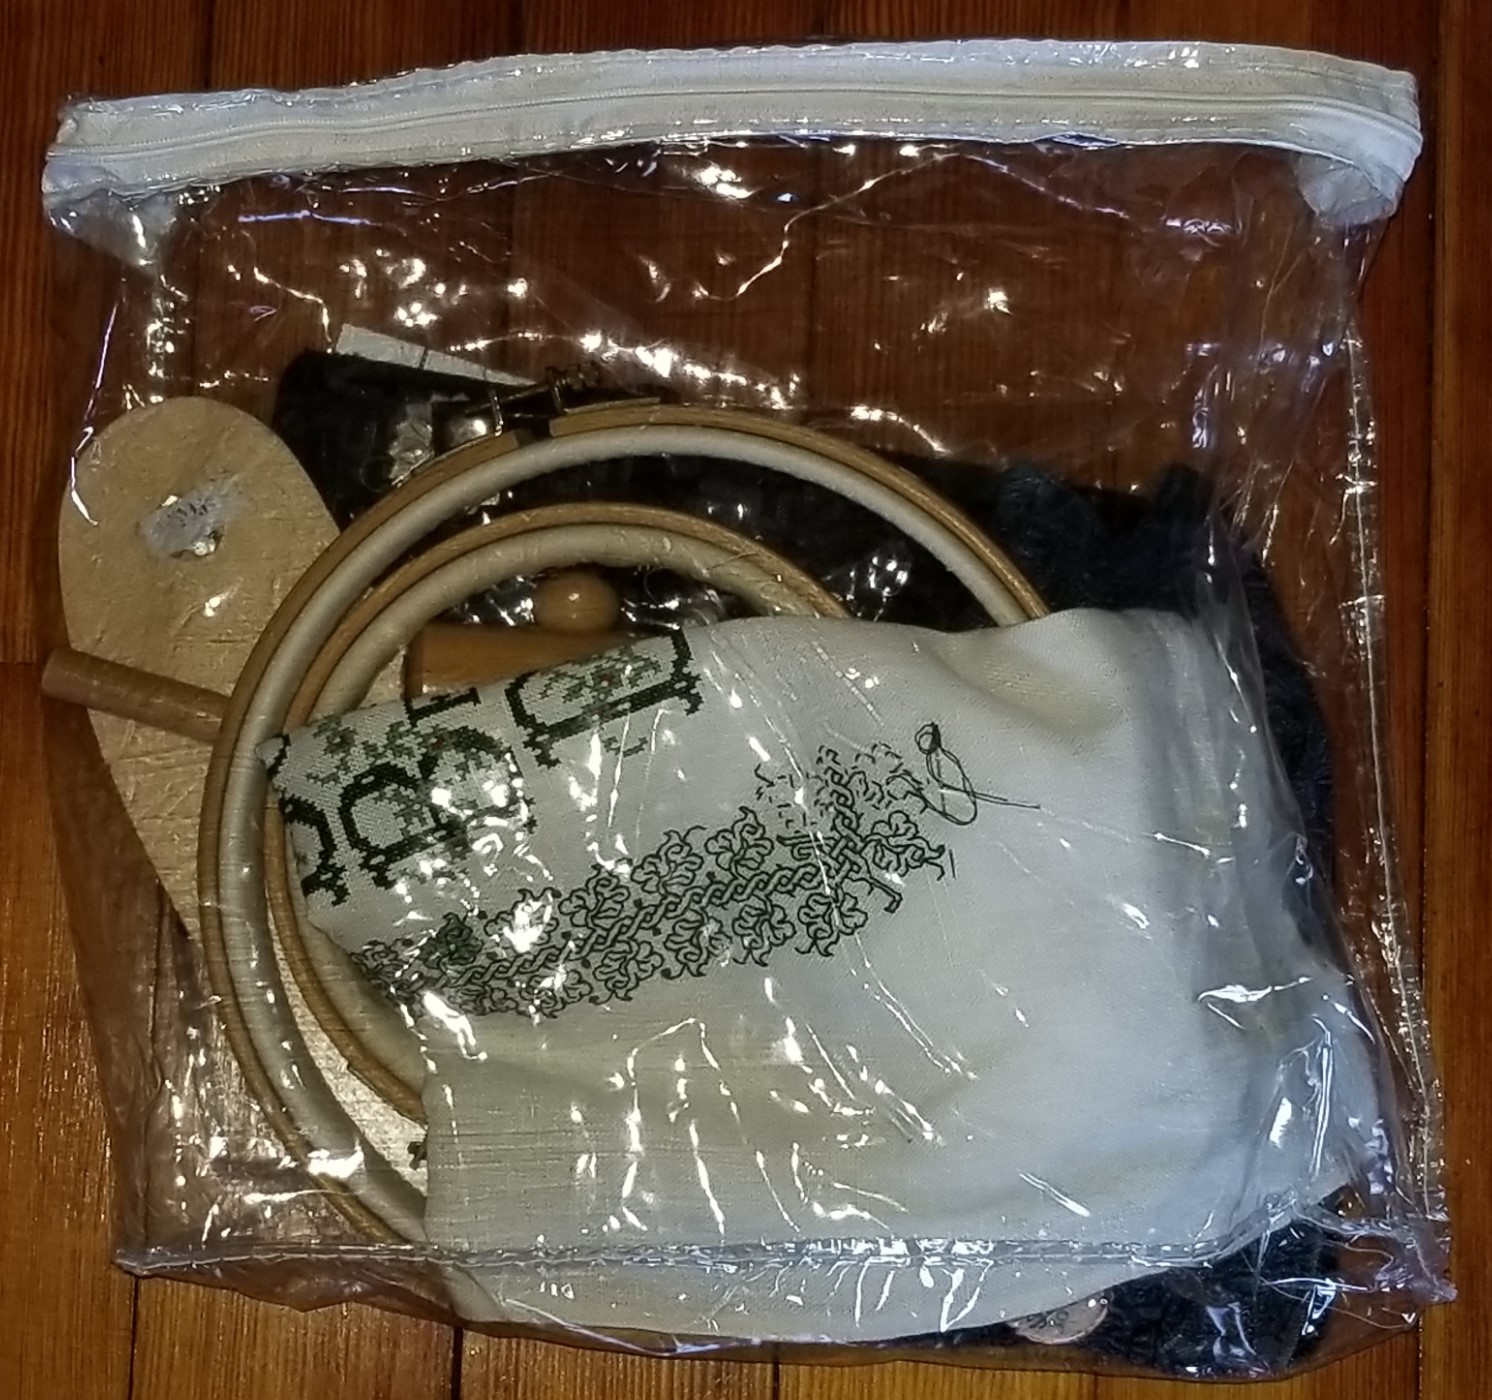
First, the container. The plastic zip bag below (shown both sides) is something I saved the last time we bought a full set of queen size sheets for our bed. It’s rectangular, with an interior pocket, and a zip all the way around one end. It’s also a very tough plastic.

Here you see the main components of my travel kit – the three pieces that make up my sit-upon frame, the project itself, a zip pouch containing essentials (threads, beeswax; my third-best pair of scissors on a retractable spool and a laying tool, both attached to a beaded badge holder; my needle nose electrical assembly tweezers); a little magnetic stand/folder (with magnetic needle minder attached); and a spare in-hand hoop.
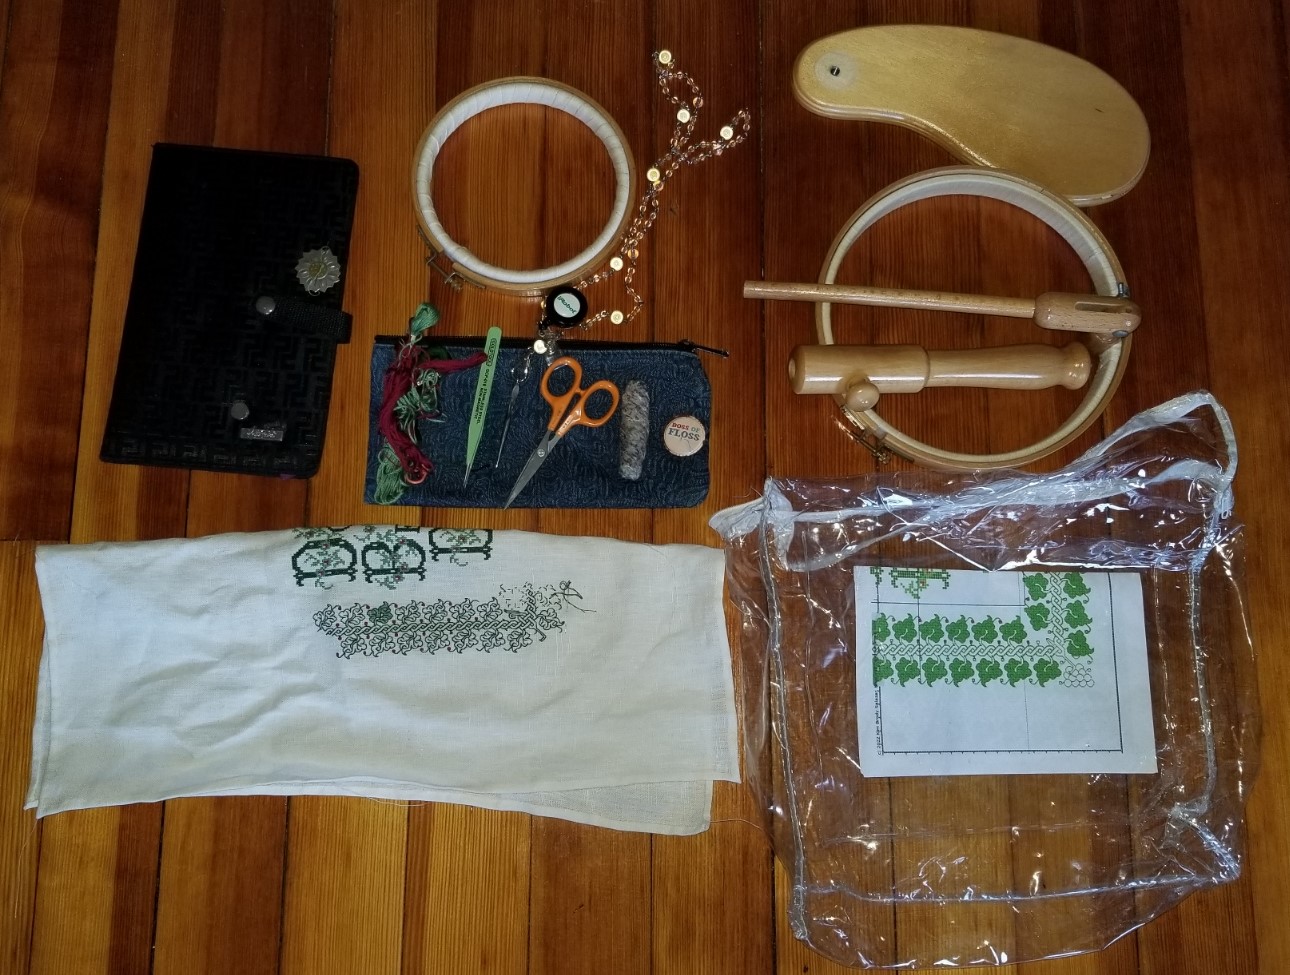
Note that the stand itself is an easy assemble/dissemble, and fits in the pouch with the project. I bring the spare hoop because it’s not always comfortable or possible to use the sit-upon, and because the sit-upon features a fixed hoop-on-stick, it’s cumbersome to use without full assembly.
When I stitch on the beach I leave the magnetic stand folded in the interior pocket of the see-through plastic pouch, with the pattern page on top. If necessary I have a place-keeping magnetic strip that can grip the board through both the plastic and the paper pattern. That way I can keep my pattern safe from dampness and wind on the beach. The supplies/tools zip stays safe in the transparent plastic bag, too, although I do either wear the beaded “chatelaine” around my neck, or clip the retractable badge holder that minds my scissors to my beach chair.


MCG! ugh! I got mine at Hobby Lobby (in the 90s, before I knew how completely out of their gourds they are). In addition to being unevenweave…it said 100% linen but it didn’t feel like it.